Our two drums were dried and clogged so opening them up to deep clean was the only option.


And there you go! After reassembly I ran an inking cycle and did some tests. They came out perfect.

Our two drums were dried and clogged so opening them up to deep clean was the only option.
And there you go! After reassembly I ran an inking cycle and did some tests. They came out perfect.

I made these color chart booklets to hand out to people. It has examples of gradients and some process prints all printed using the grain touch feature of both machines. I had to use my EZ to print all the yellow since we currently do not have a yellow drum for the 3700.


Recent art drawn for Kombat, local death metal band and homies/coworkers from Denton, Texas.
Original drawn on bristol paper using a calligraphy pen and Micron pens.


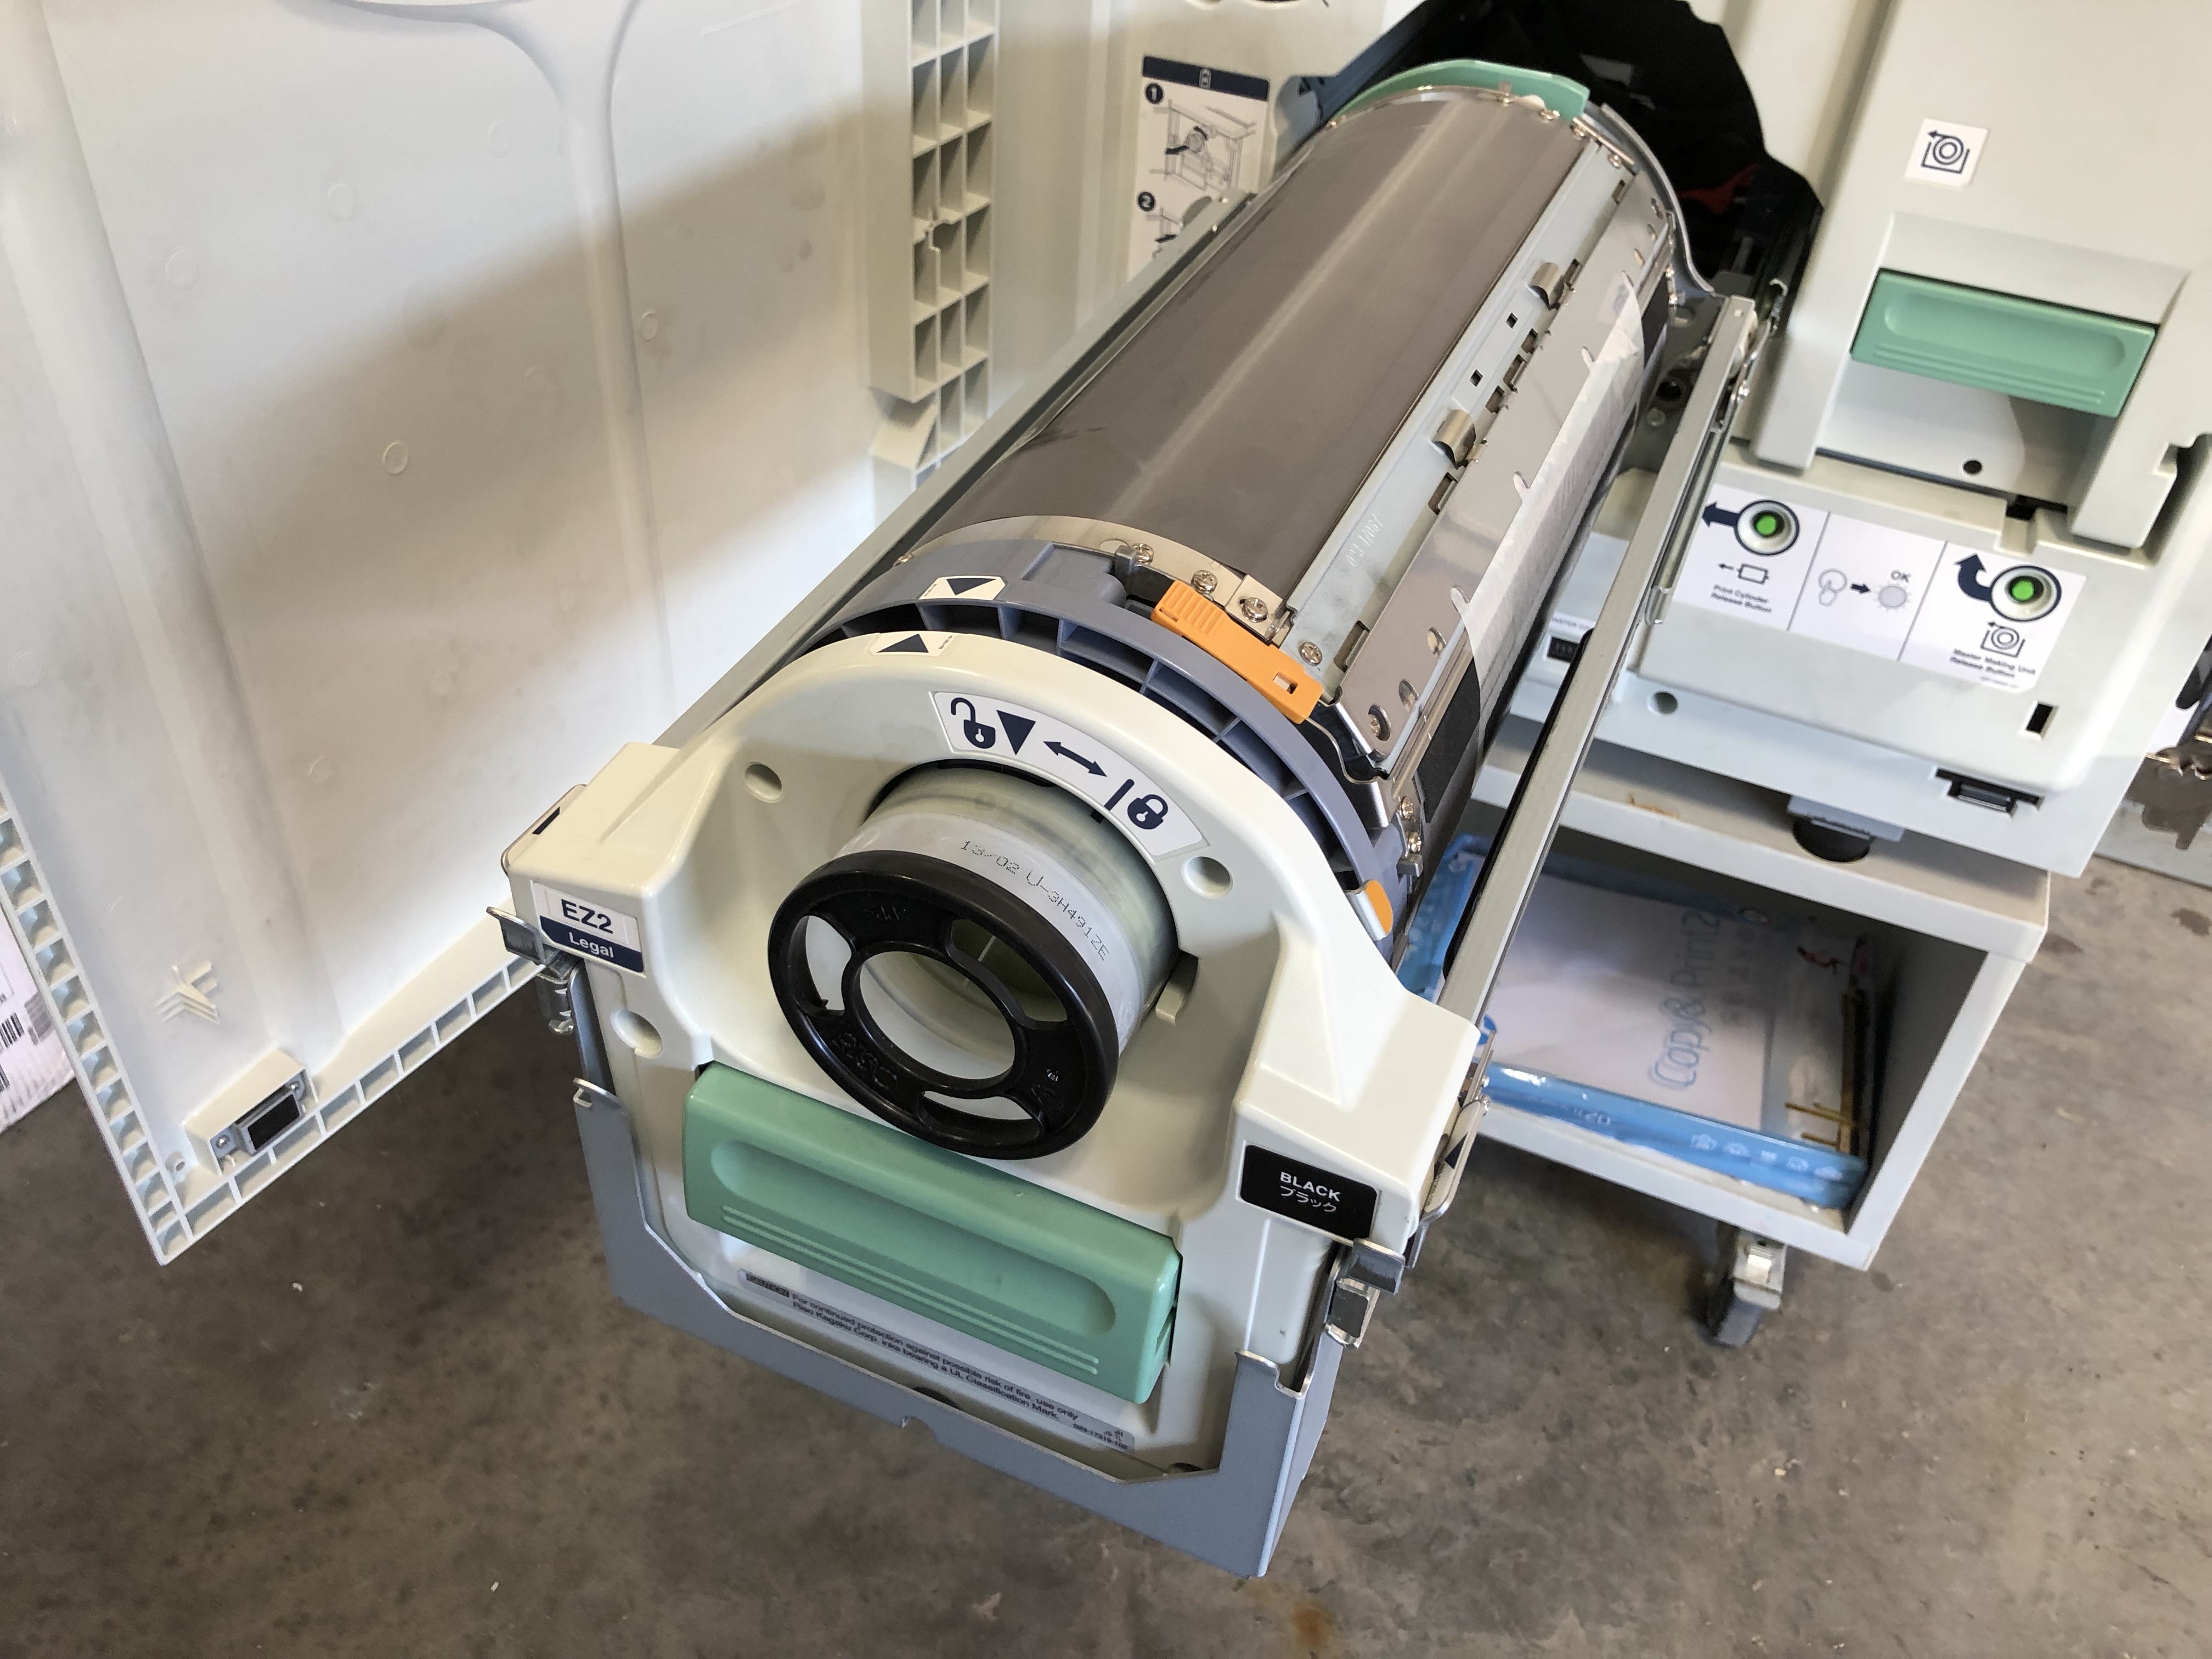
I drove through a tornado producing thunderstorm on a dirt road south of Waco to pick up and transport this Riso EZ 220U. Nothing will stop us! Currently, we only have one black Legal size drum but we’re on the lookout for more color drums.
Once I get a studio space, this machine will be joining my RP3700 in destroying paper.


I found another Peavey amp after I got out of the hospital that I cleaned up with some Deoxit and alcohol. I still haven’t completely finished this one, I took mainly reference photos of wiring for future purposes. The mica washers were cracked and thermal paste was all dry so I purchased more off eBay. One day I’ll buy new power transistors and a transformer, and possibly re-shell it in Pecan wood (cause I’m Texan and all.)


Series 400 Bass I purchased for $40. I opened it up to a nice surprise! After finding some loose ceramic disc caps and re-soldering, I turned it back on and got it to work!
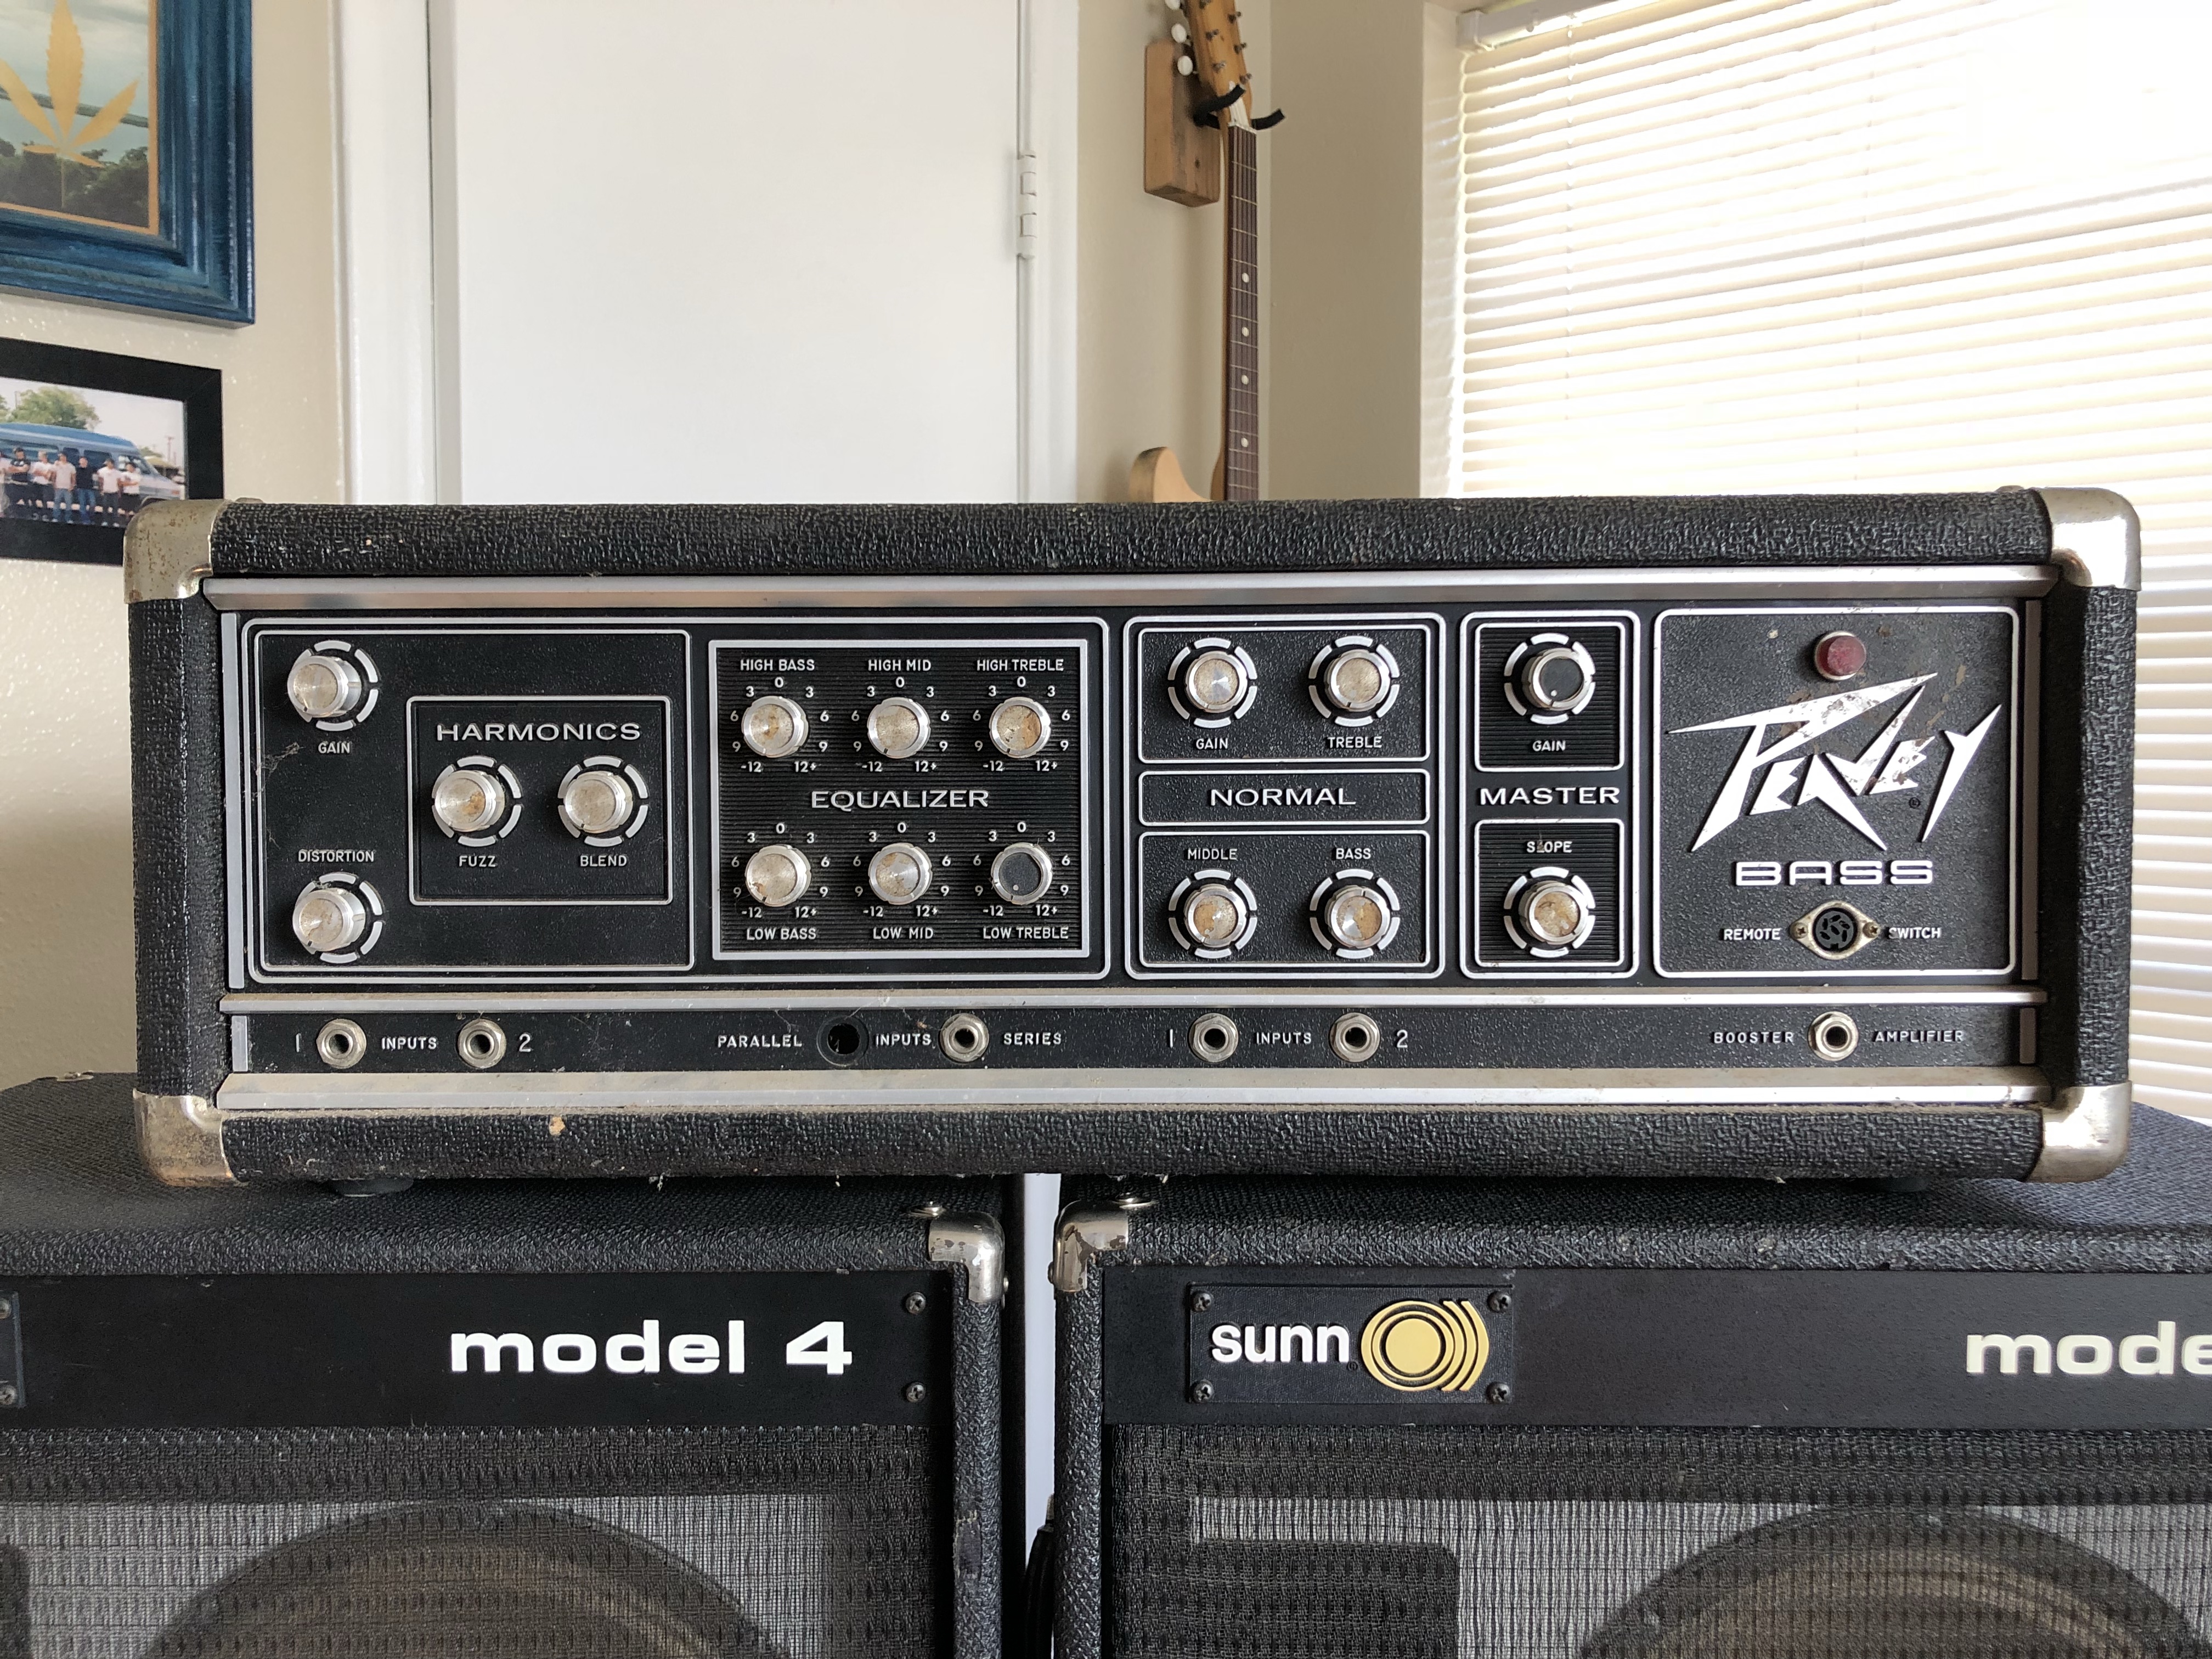


I acquired this amp in 2009 when I first moved to the DFW metro. I didn’t have an amp as a result of a series of bad choices at the pawn shop so I went out in search of something cheap. I found this beast and immediately fell in love with solid state. I used it for years, but it had problems with the tremolo unit that were beyond my ability to repair. To prevent any further damage from happening, I sold it to a collector who would take the time to restore it.
There aren’t very many photos of these online, so here you go.


I recently went to the hospital after experiencing another seizure and took the following week off to recover a bit. The entire ordeal has been intense both physically and mentally. I felt like I ran an entire marathon and nothing smelled or tasted the same way as I remembered before my seizure. It’s bizarre and emotionally draining.
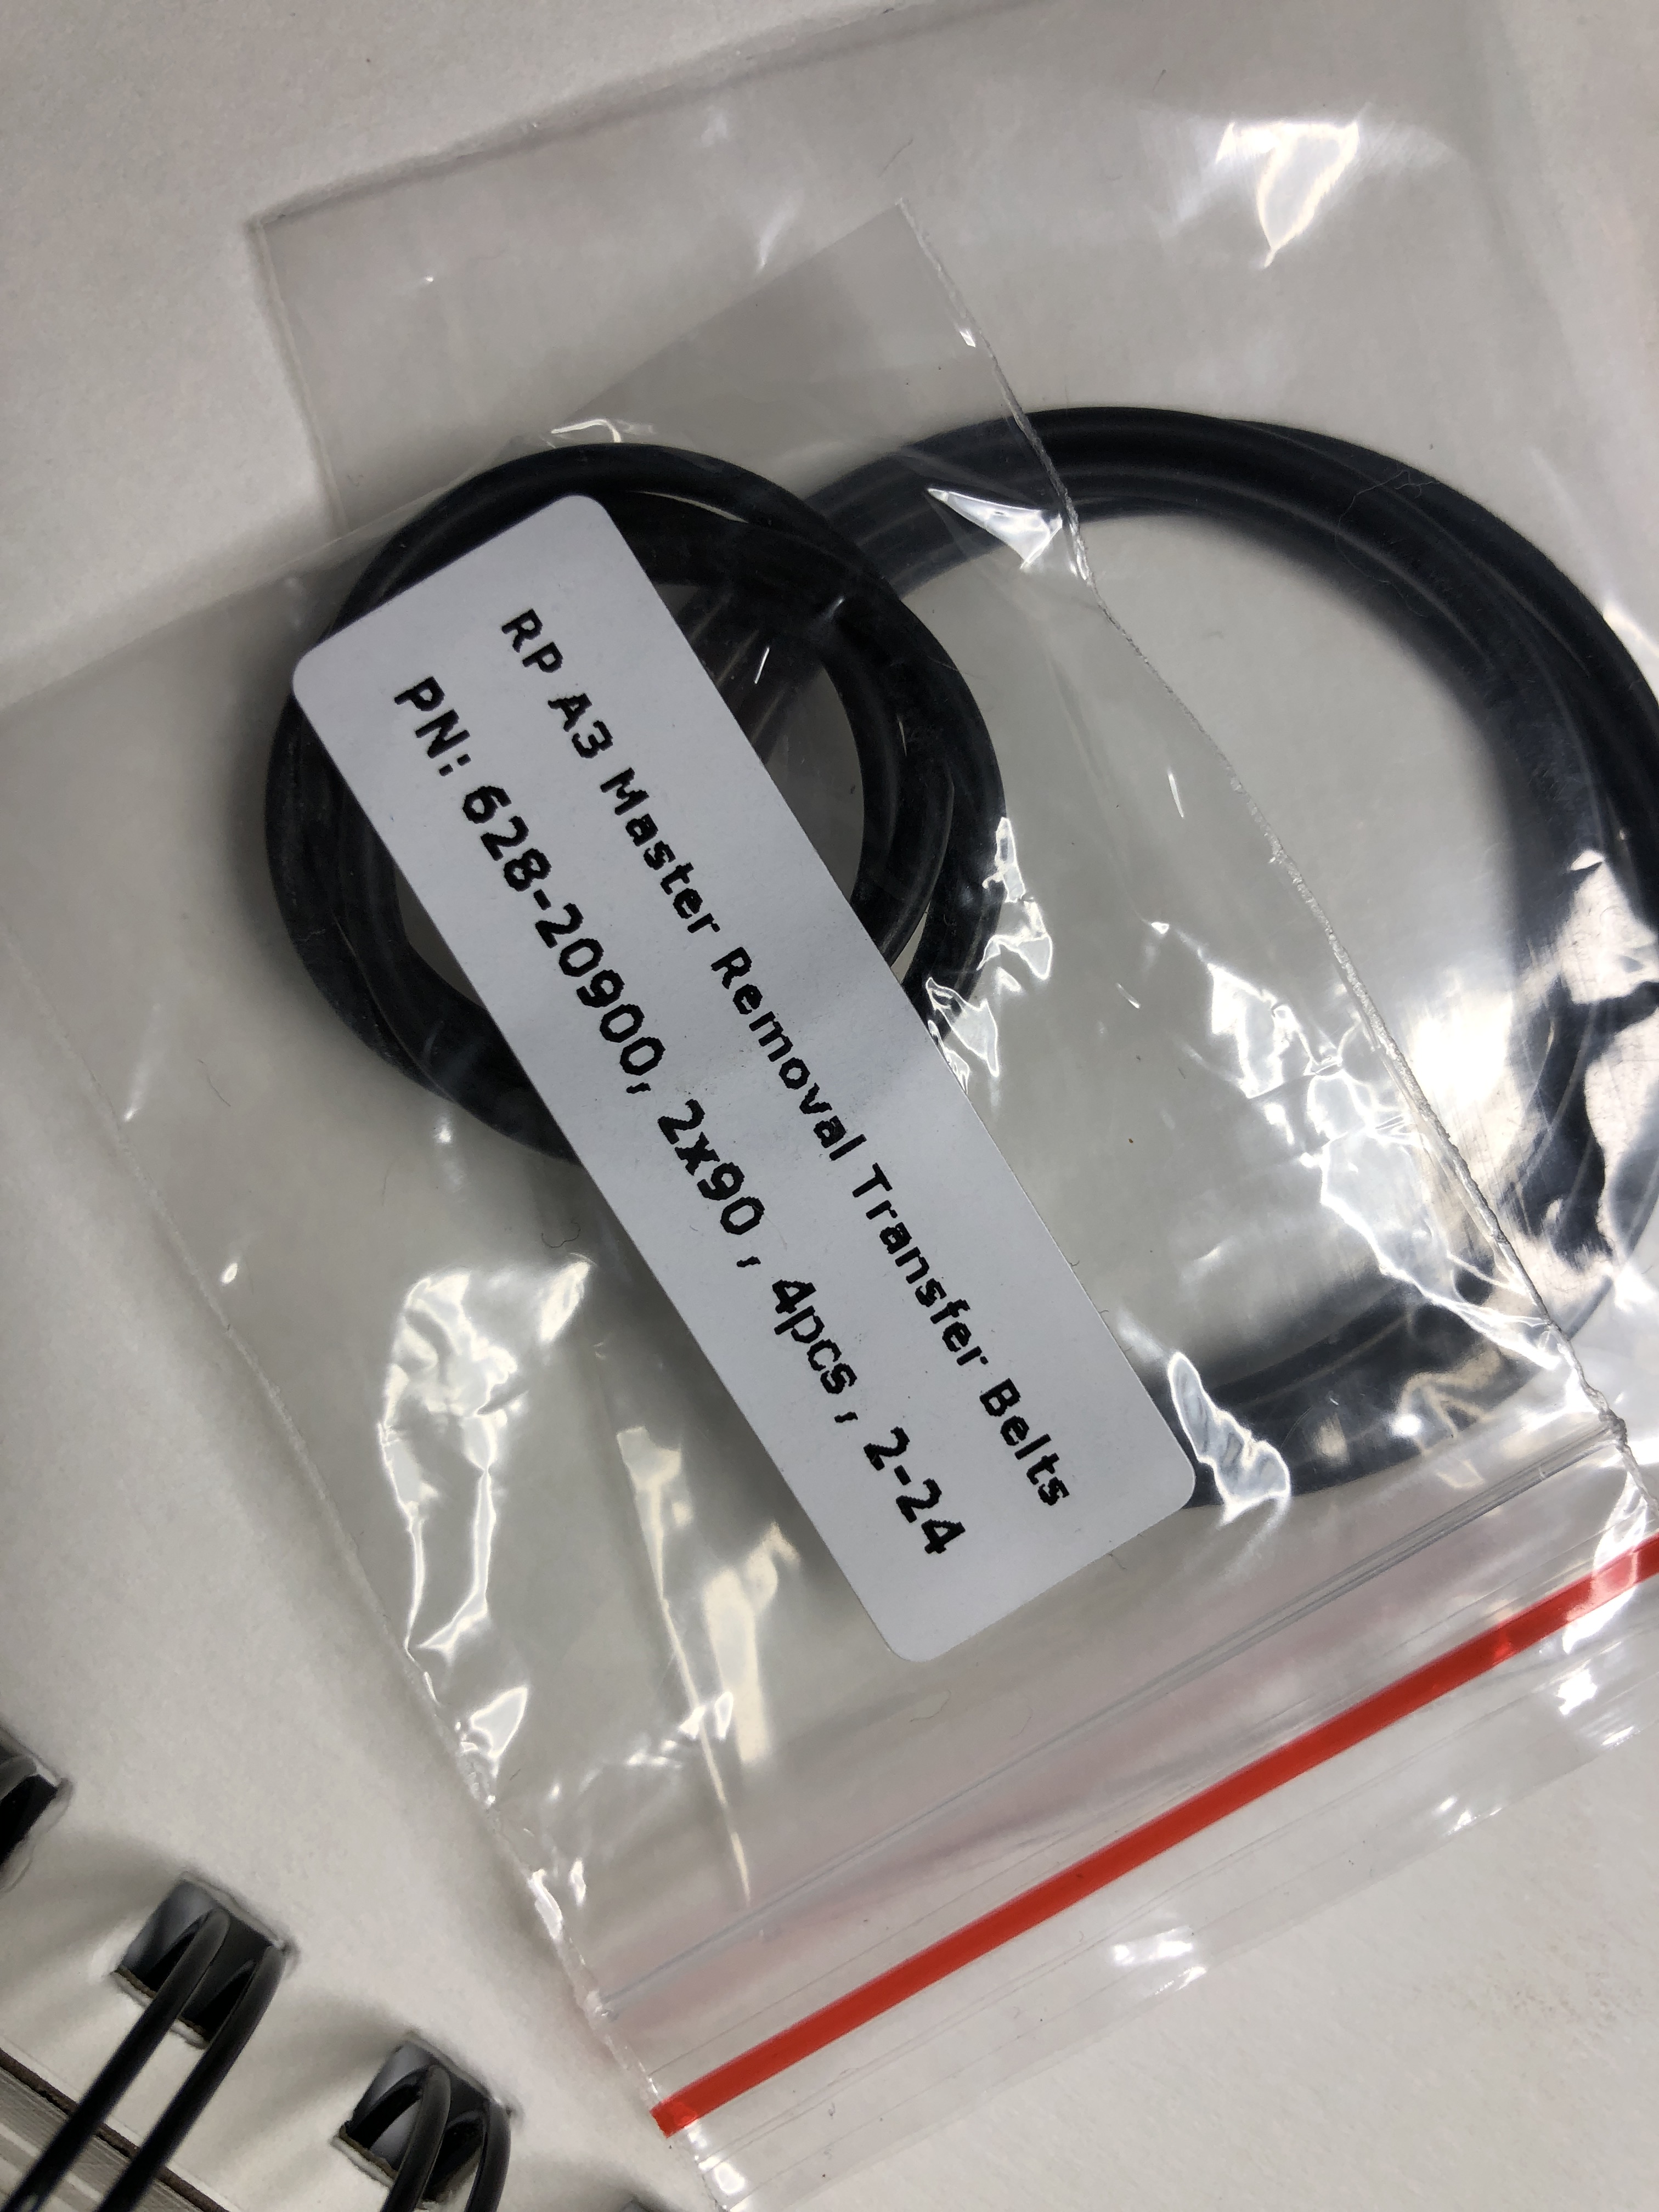
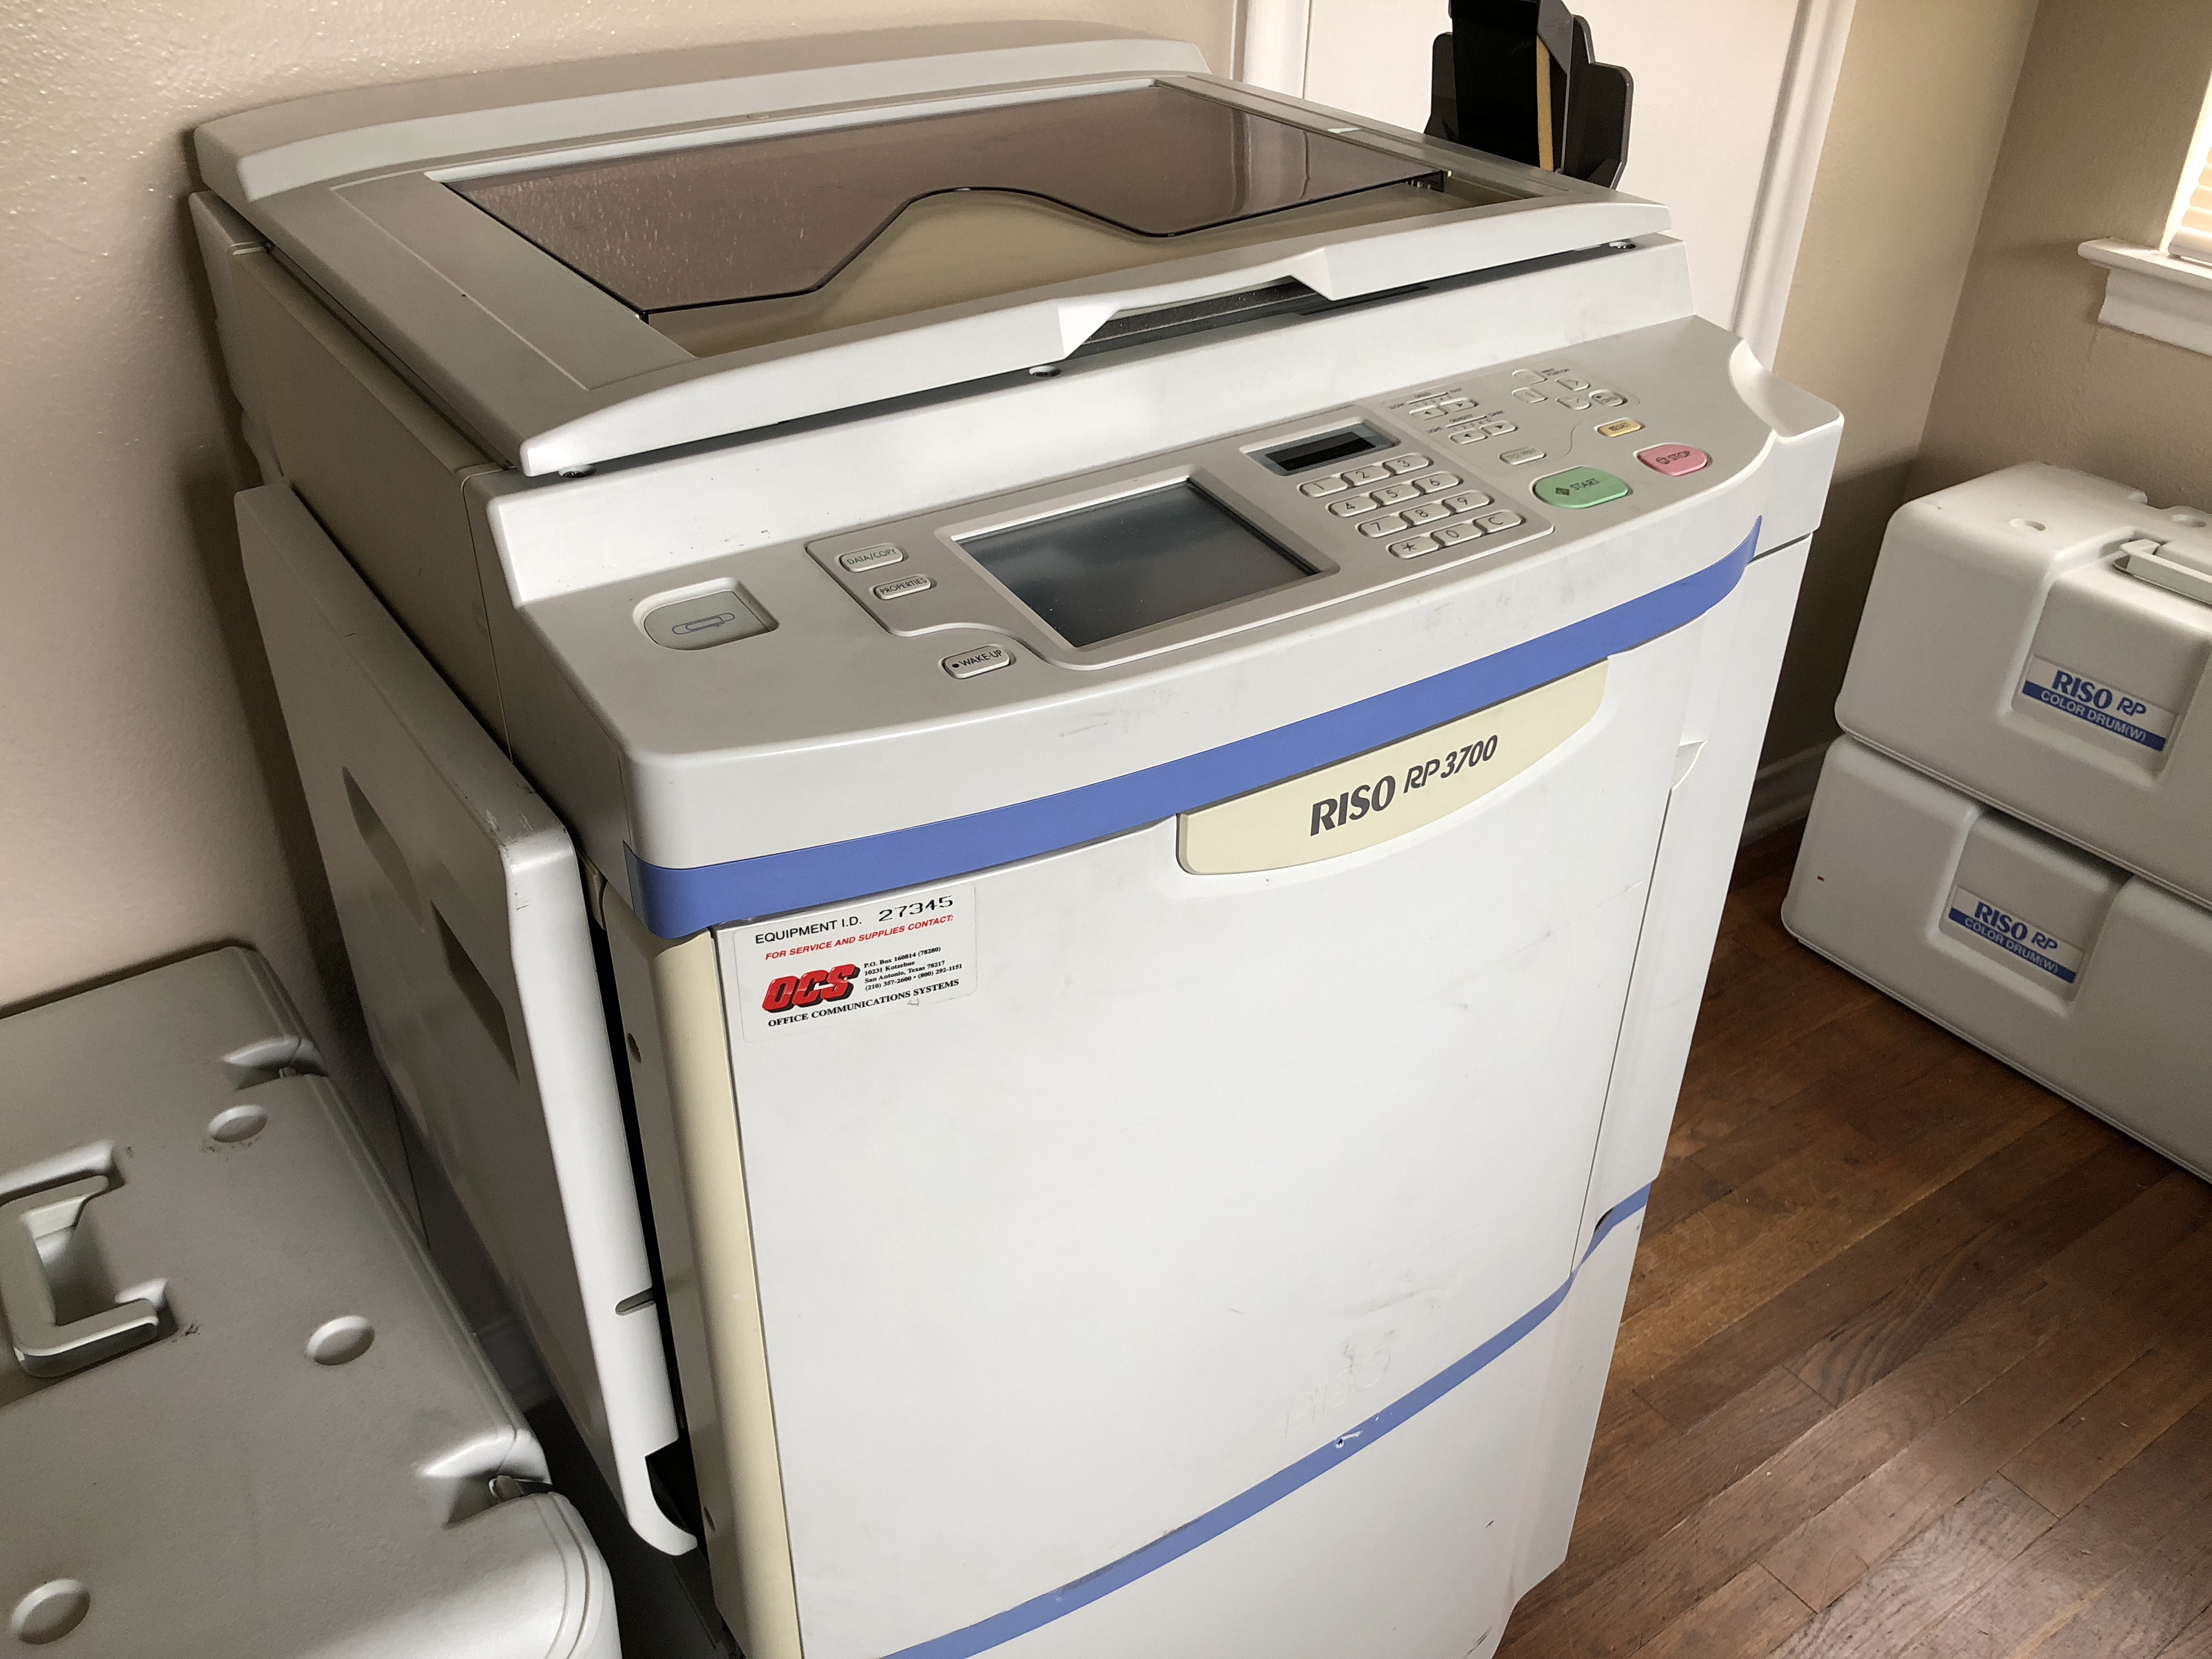
I had to take a week off of work and stay home, so I decided to start working on the repair issues I had on my Riso RP 3700. I’m obsessed with finding broken equipment and fixing it. My garage is FULL of guitar amps which I have found and fixed. I’ll post about that later. I found this duplicator and brought it home to start making fun prints but immediately began having master disposal errors and jams any time there was more than two masters in the disposal tray. After reading around on forums I found the right parts and bought the new belts and followed the guide on stencil.wiki. I asked the wonderful people on the Riso FB group for some tips and after two hours of slow and cautious work, I was done!


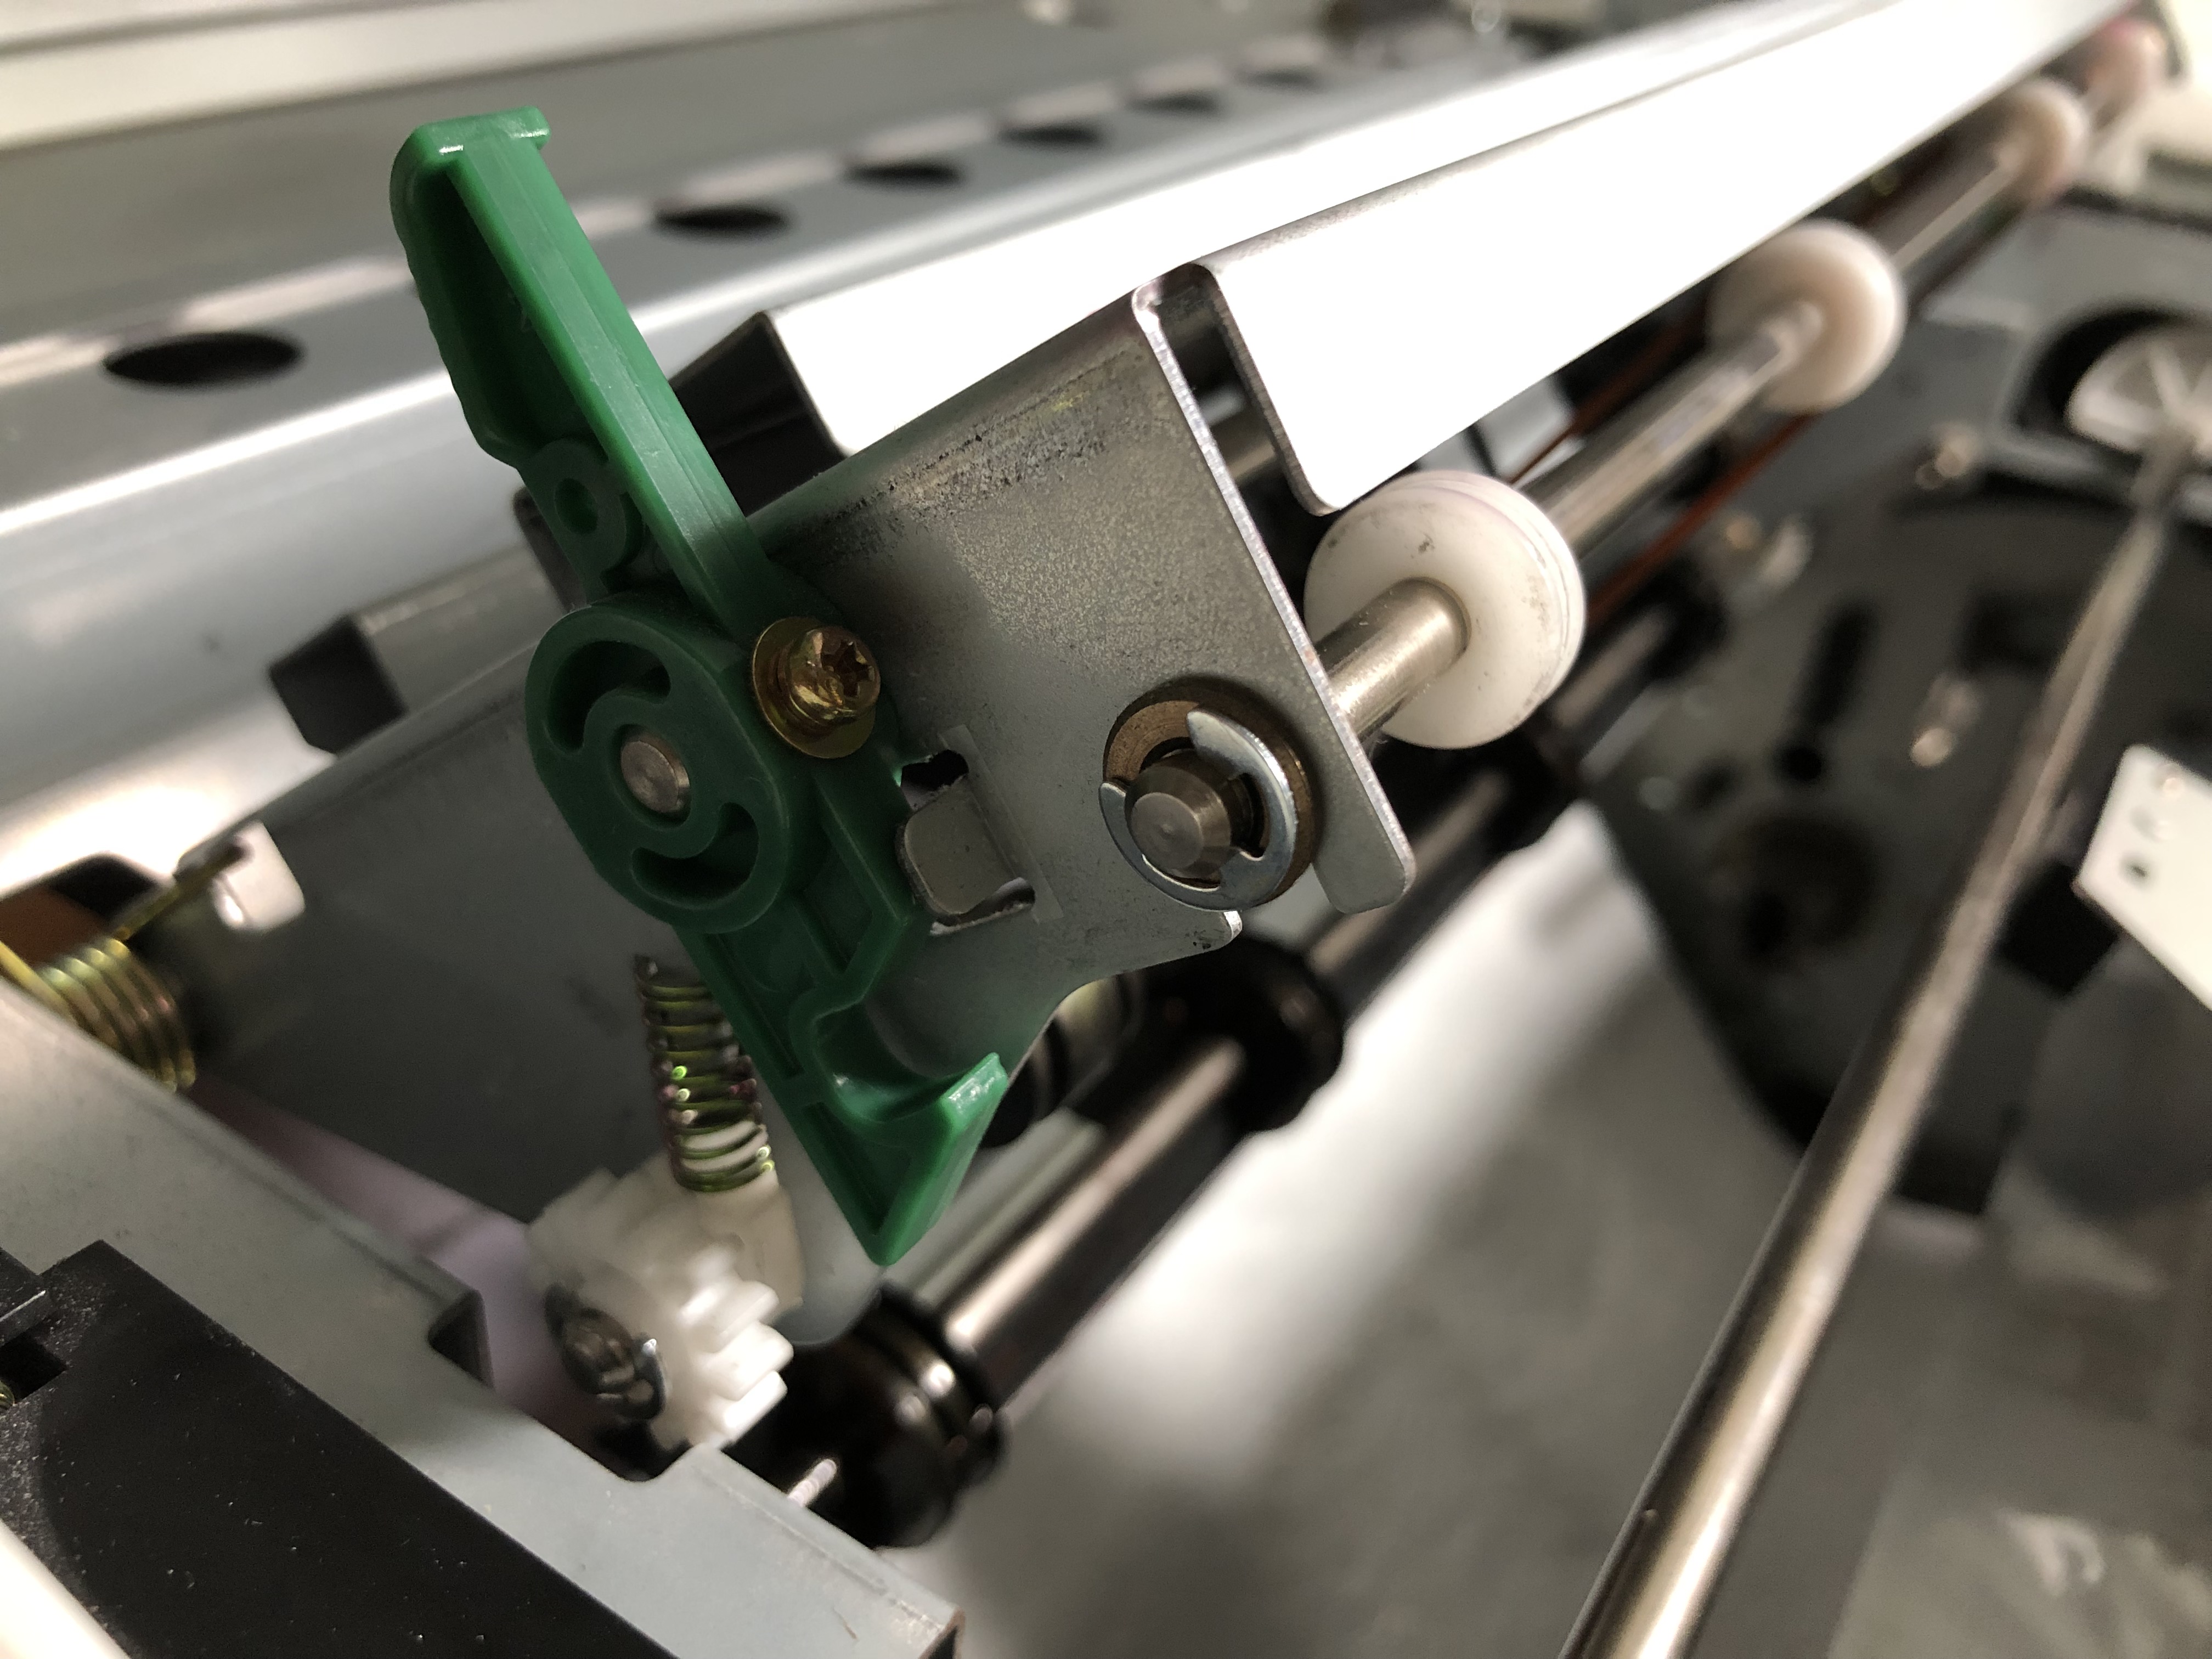
I purchased a pair of circlip pliers from Harbor Freight and let me tell you, it made the job a hell of a lot easier than using a small screw driver. No flying circlips, no lost parts.


After I put it all back together, I made a test master and it worked! No jamming master sheets.

Over the past year I’ve been traveling around the Texas hill country and acquiring some new tools. Our two latest acquisitions are these two Riso spot color duplicator machines.
Say hello to Riso RP 3700 & EZ 220U!

These are fairly rare machines to come across. Imagine a printing machine that blends two classical print methods; mimeograph and screen printing. It works like a xerox, but instead of toner it uses super vibrant, transparent, soy based ink. Best of all, a Riso can print on varying paper stocks; from newsprint to heavy French paper, this thing can handle it. You create a master image using the scanner, a laser burns a fabric master which then wraps around the ink drum and a pressure roller presses the un-coated paper against the drum, making a perfect transfer. Since each color is printed as a separate image, the paper is ran multiple times through the machine, layering each color and creating beautiful gradients. These are truly beautiful and brilliantly designed machines.

A few years ago we started restoring an AWT AccuPrint AP-2538. The entire machine was rusted over when we first found it, still functional, but very dirty.


After almost destroying it during transport (oops) we unloaded it into our print shop and started taking it apart. Using white vinegar, I de-rusted every piece of metal I could fit into a bucket. I sat in my garage and listened to music, and just scrubbed away. It probably took me about three weeks to finish scrubbing and rehydrating the metal and plastic in mineral oil.


We put it back together and it looked absolutely beautiful!


